DU Template Walkthrough – Overview
Overview and Main File
Why Document Template?
If you have ever built a Document Understanding (DU) process from scratch, you know how complex it can be. With 5 separate stages each of which has one or more activities, it can be a lot to keep track of. To try to simplify it all, UiPath has enclosed the whole thing into a separate framework which developers can use as a starting point. That doesn’t mean it’s all done for you though. It is important that developers know exactly what each step in the template does, and how it all flows together. There are settings that developers must set. Let’s dig in deeply to the template and understand every workflow it contains. By digging into each step of the framework, we can learn a ton about DU, and along the way learn about best practices, error handling, and how to develop flexible, reusable components.
The Process We Will Build
This walkthrough aims to build a DU process using the DU Template. Our goal of this process is to extract data from invoices and receipts. There are 2 ways to get input into the process, either by passing a path to the file that is to be processed, or through an Orchestrator Queue. For this first walkthrough, we will use a file path using the example file provided in the template. Then, in a future post, we will use a Queue.
Finding the Template
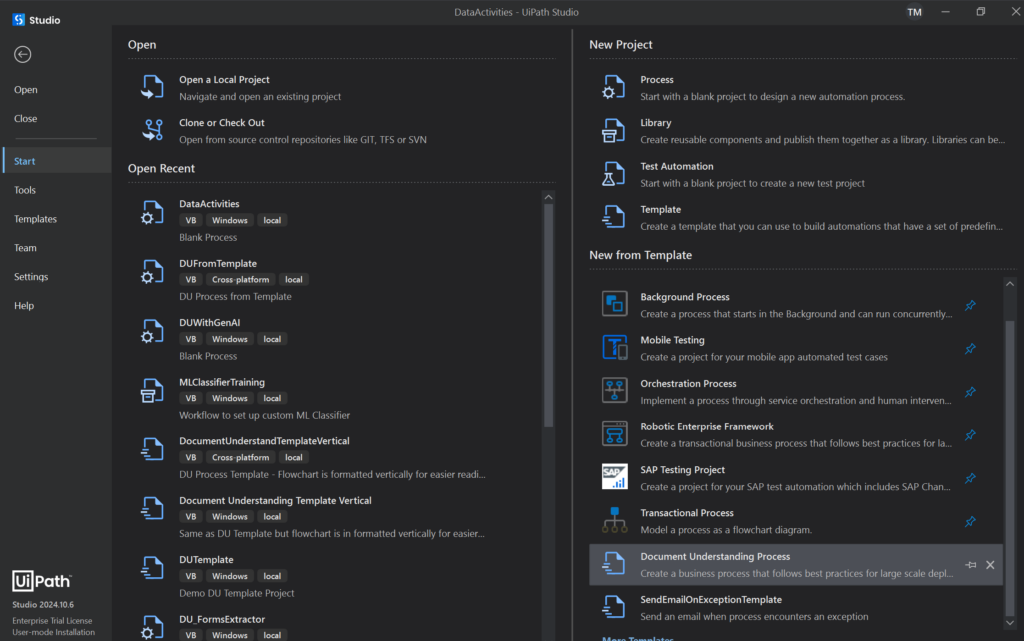
From the Home Screen, the Document Understanding Process template can be found in the Templates section.

Make sure you choose Windows Compatibility. Cross-platform is available too, but for our purposes, windows has more features which we will cover.

Main File
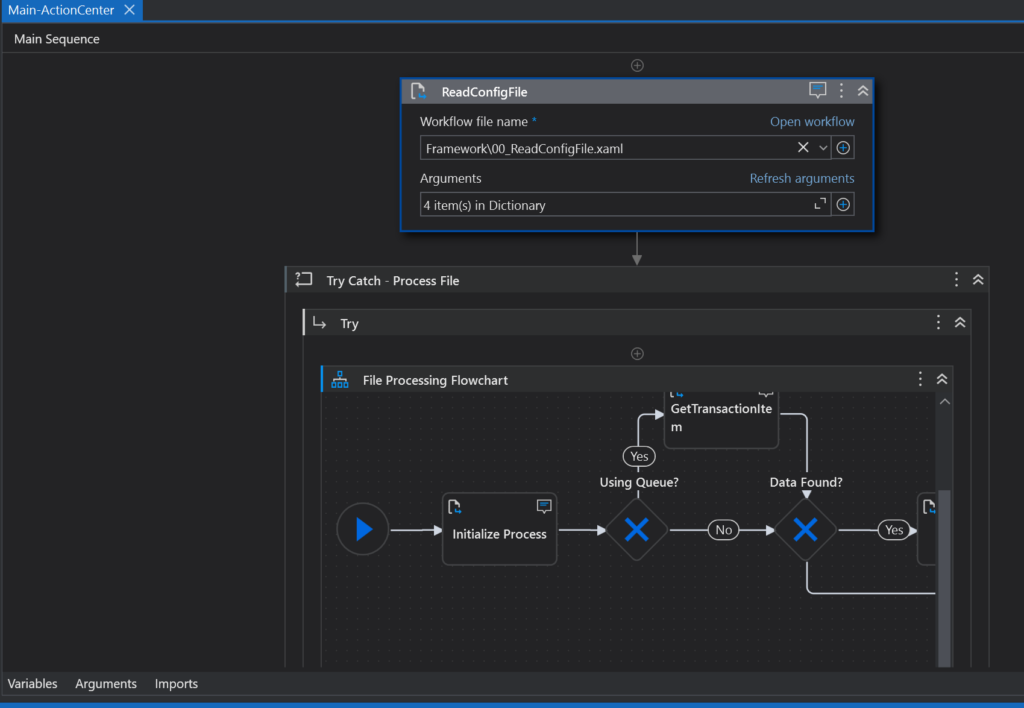
The first thing we must decide is whether this process will be attended (have a user sitting waiting if he needs to jump in to validate something), or whether it will use the Action Center. (If you want to use attended mode, in the project panel select the file Main-attended.xaml, right-click and select Set as Main). But for this post, we will use the default Main-ActionCenter.xaml.
When we name the project and open it up we see this:

The Main file in the project is called Main-ActionCenter. It invokes other workflow files, and catches errors. We’ll examine each workflow one by one. But first let’s talk about the process as a whole, what it’s designed to handle.
The Big Picture
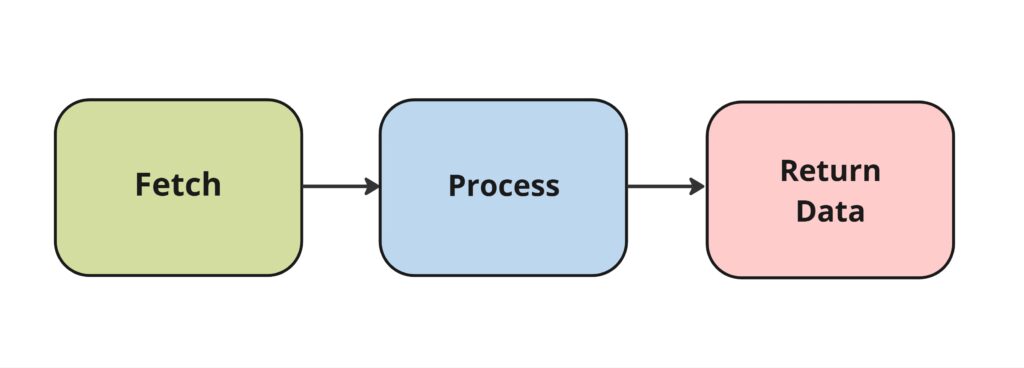
The main principle about any DU process is that documents are processed one at a time. There is no bulk processing in DU. The processing part does not care where the document came from, or how it got there. Whether it was sent in by a human who used a Browse for File pop-up, or fetched from a Queue and sent in, the processing part will do its thing on each document, one at a time. Once it processes the document and turns it into data, it doesn’t care where it goes from there. So, we can already divide DU into 3 broad phases:

Before we continue to build our big picture scaffolding, let’s add error handling:

At any point in the process, if an error occurs it will be logged and either handled immediately, or sent on to the final phase as an error. Now we have a big picture of the overall process.
Making the Template Flexible
But there’s one more thing we need to add to the big picture. This is a separate workflow that sits outside the process itself, but it’s what makes the Template so reusable. It’s where we tell the process everything it needs to know to run the way we want it to. We do this by making use of a config.xlsx file, which is located under the Data folder. If you open it, you’ll see such settings as: where to store its local temp files, the name of the queue we’ll use and where it is, what our minimum confidence threshold should be, whether we want to skip the classification step entirely, what our log and error messages should say, and many other settings. Before our process starts, a separate workflow will read in this file. We will talk more about config settings as we understand how they are used in each workflow. For now, let’s add this important step to our big picture:

We now have what we need to organize our understanding of the Document Template process. Now, when we examine the Main File again, it makes a bit more sense.

We see the call to the Read Config workflow, We see our main Try-Catch block. And we see a flowchart of the process itself. All this will become clear in future posts. Before we leave the Main page let’s examine what comes in and out of the template as a whole.
Main File Arguments
Opening the arguments pane, we see 2 incoming arguments:
in_UseQueue (Boolean) – Whether the document will be coming from an Orchestrator Queue. If this is set to True, the in_TargetFile argument will be ignored. NOTE: The folder and name of the Queue are stored in the config file. Default: True.
in_TargetFile (String) – The full path to the file to be processed. Default: Nothing.
So this tells us that all we need to kick off this process is the full path of a document OR whether to use the pre-named queue. We also see that there are no out arguments returned. This means that the process itself will export the data to wherever it needs to go.

Main File Variables
Stored in the Main scope are the values that we’ll use throughout the process. They are pretty much self-explanatory and empty to start. Most of these variables will be loaded during the Read Config and Fetch Phases.
| Variable | Type | Loaded in Phase |
|---|---|---|
| docTaxonomy | DocumentTaxonomy | Fetch |
| docText | String | Fetch |
| dom | Document | Fetch |
| classificationResultsArray | ClassificationResult[] | Process |
| classificationSuccessFlag | Boolean | Process |
| config | Dictionary<String, String> | Config |
| maxAttempts | Int32 | Config |
| retryInterval | TimeSpan | Config |
| TransactionItem | QueueItem | Fetch |
We now have a starting picture of the entire process as a whole. In further posts, we will dig into each color-coded phase of the process to understand what happens, and we will also color-code some config settings as we encounter them.