TDD in UiPath – A Walkthrough – Part 2
Part 2 in a Series – Part 1
In the previous post, we discussed the advantages of Test-Driven Development (TDD) which is writing the tests before you code. But how to do TDD in UiPath? Let’s walkthrough a simple example.
Let’s say we want to create a project that will calculate whether or not a given year is a leap year. This would have a input argument of the Year, would do its calculation, then return a result. Let’s walkthrough how we could set up, develop, and refactor this using TDD in UiPath.
First of all, how to organize the code? We could put everything in the Main.xaml file as an assign activity, and do all the code there. But let’s think this through. If we isolate the calculation from the rest of the program, we could reuse it in other projects. Most importantly, we can test the workflow separately, and catch any potential problems. Building modularly is always the best practice.
Step #1: Isolate each testable unit
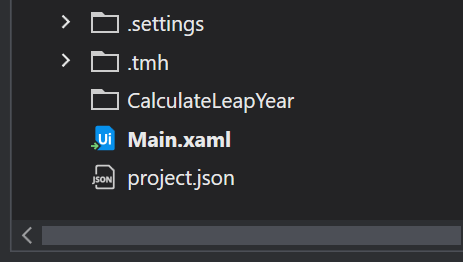
So let’s isolate our CalculateLeapYear unit by creating a separate folder for the unit.
Step #2: Start with the Test Data
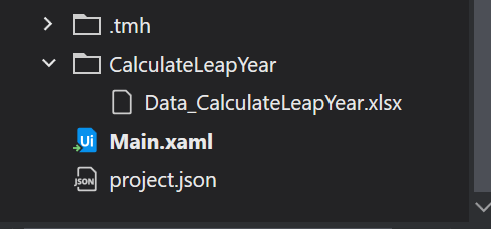
Ok, now let’s create a data file where we can think this unit through. Let’s create an Excel spreadsheet within our folder and give it some column names like so:
What I like about this setup is that I control it. I can easily create different columns for different inputs, and rename them as I, the developer of this unit, work through various scenarios. The TCID stands for Test Case ID, and is just a way to uniquely identify any particular row. The Description column is a note of what exactly this test case is all about in English. Then comes my input column or columns, and the Expected Output from the Unit.
Let’s first add a couple of test cases, starting with the easiest, a leap year and not a leap year. I’m being deliberately simplistic here, because I want to show later how we will add complexity as we need it.

Step #3: Create Workflow and Test Case
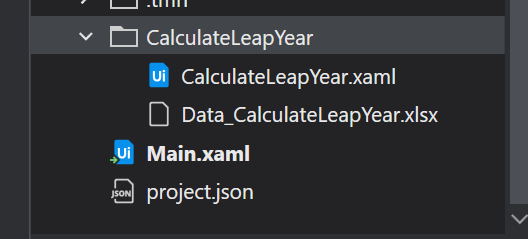
Ok, now we have enough to finish the setup. Let’s create our unit workflow file CalculateLeapYear and add it to our folder:
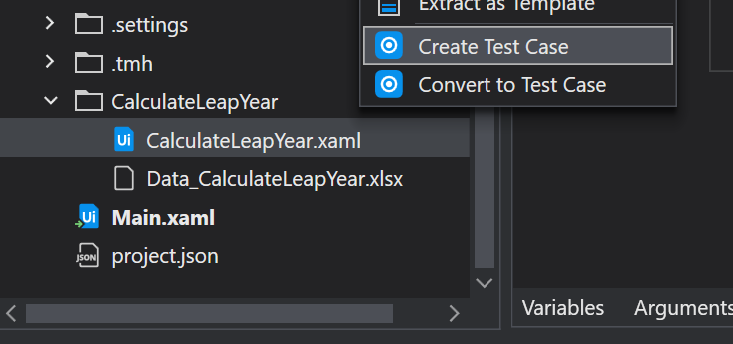
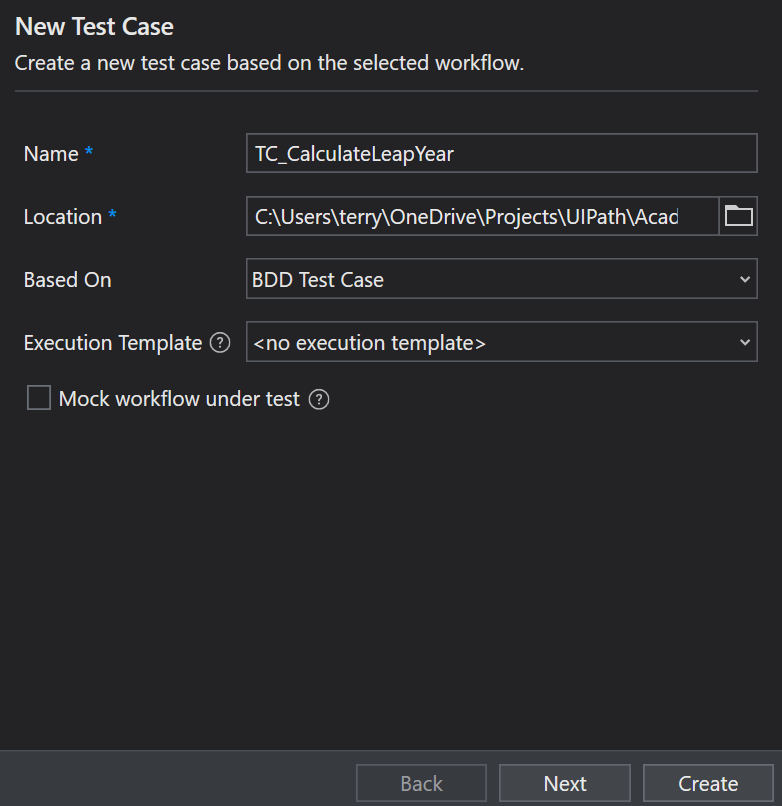
And right click on that to create our Test Case:
Let’s name it TC_CalculateLeapYear and put it under our folder, and click Next:
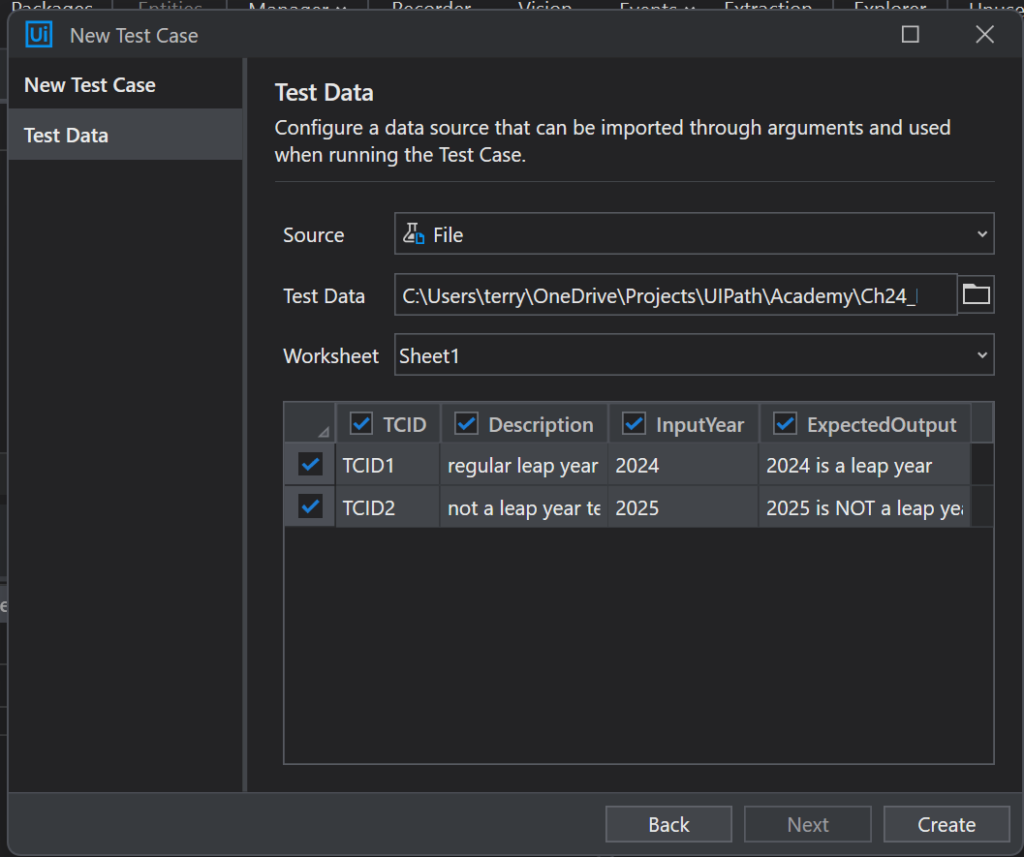
On the next screen, select File as Source and point to our Data file. (NOTE: The excel file must be closed for this to work). Our two rows we input pop up. Click Create to finish.
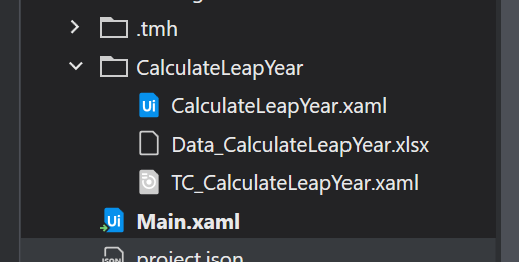
Now our folder is nice and neat and looks like so:
Step #4: Link arguments in and out
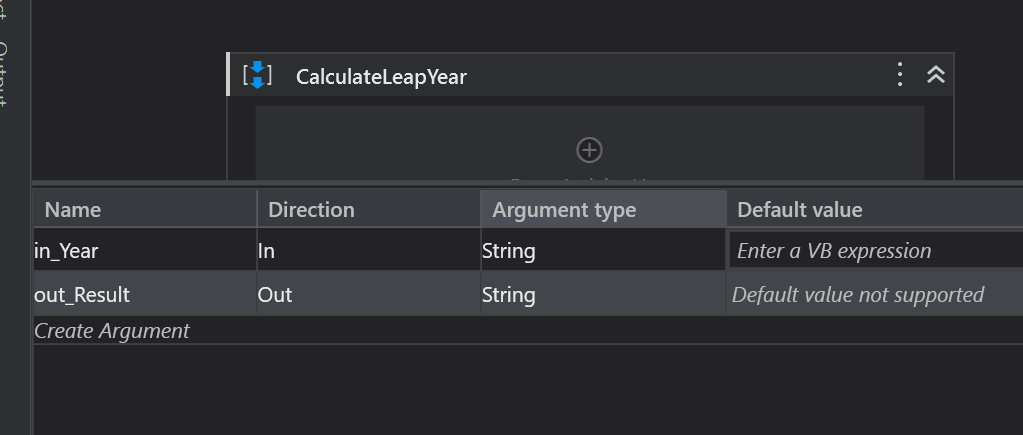
Starting with the workflow file, let’s add our arguments in and out.
Now, let’s look at the Test Case file. Open the Arguments panel on the bottom.
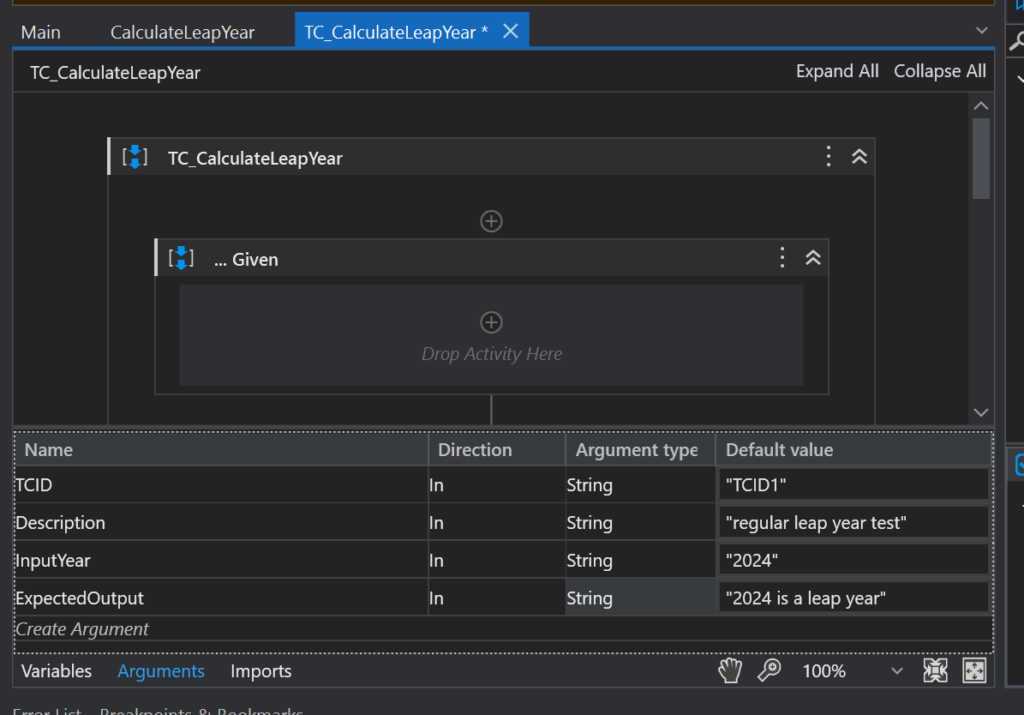
Notice that all our columns are listed from the data file! These values are available for us to use throughout the test runs, as we’ll see later. So close this for now.
In the When section of the TC file, you will see the invoke code for the workflow.
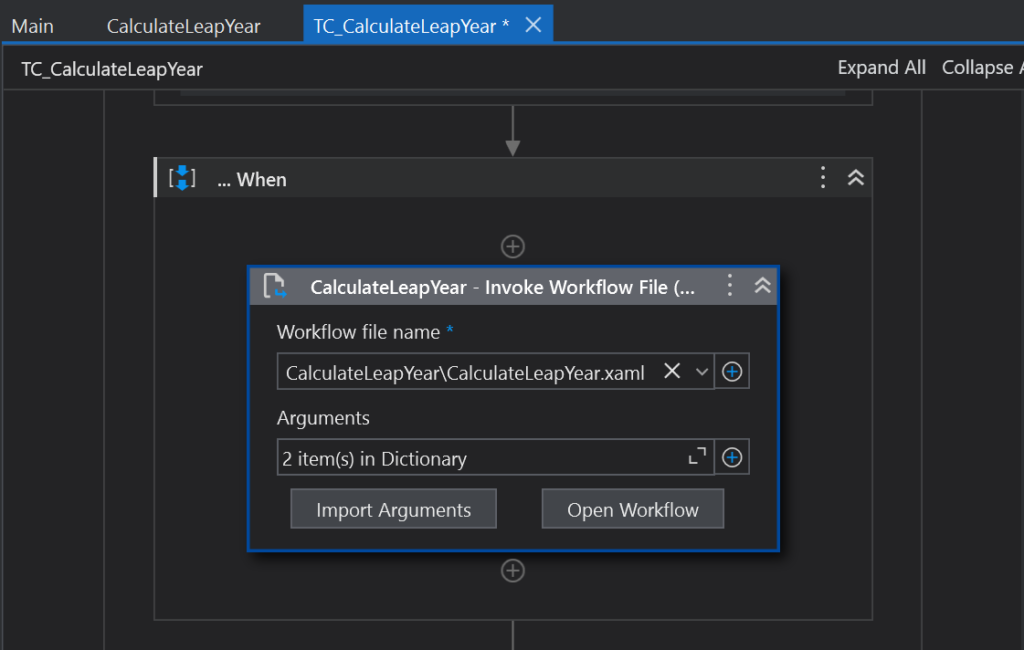
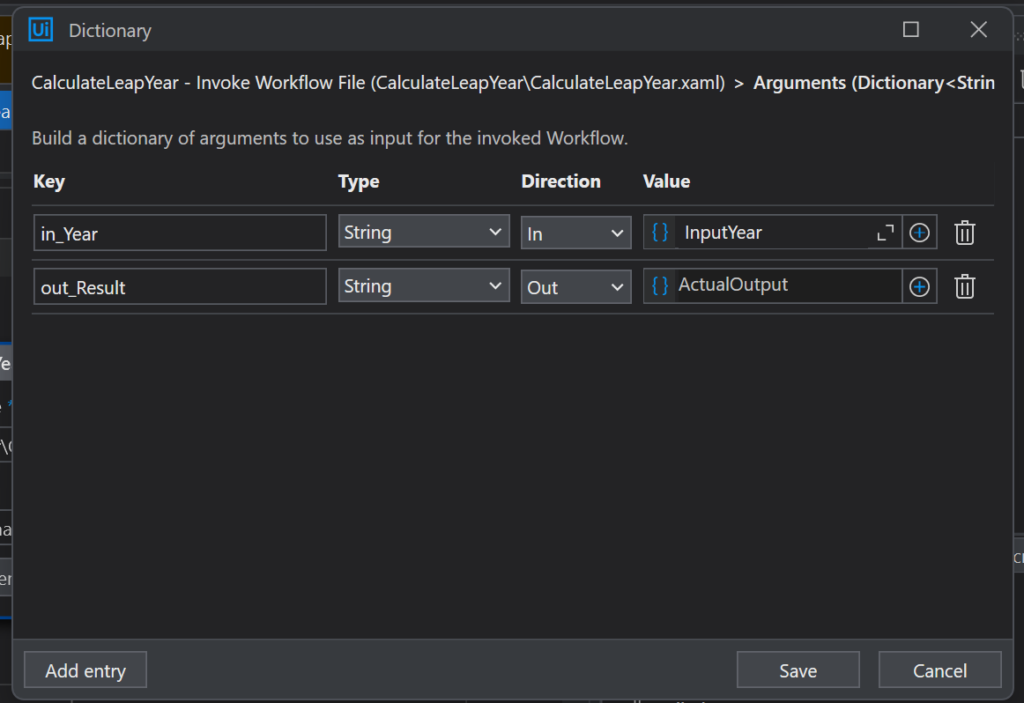
We want to link our incoming Input argument from the data file to this invocation. Click on the field where it says “2 item(s) in Dictionary” to open the dialog where we can do the linking.
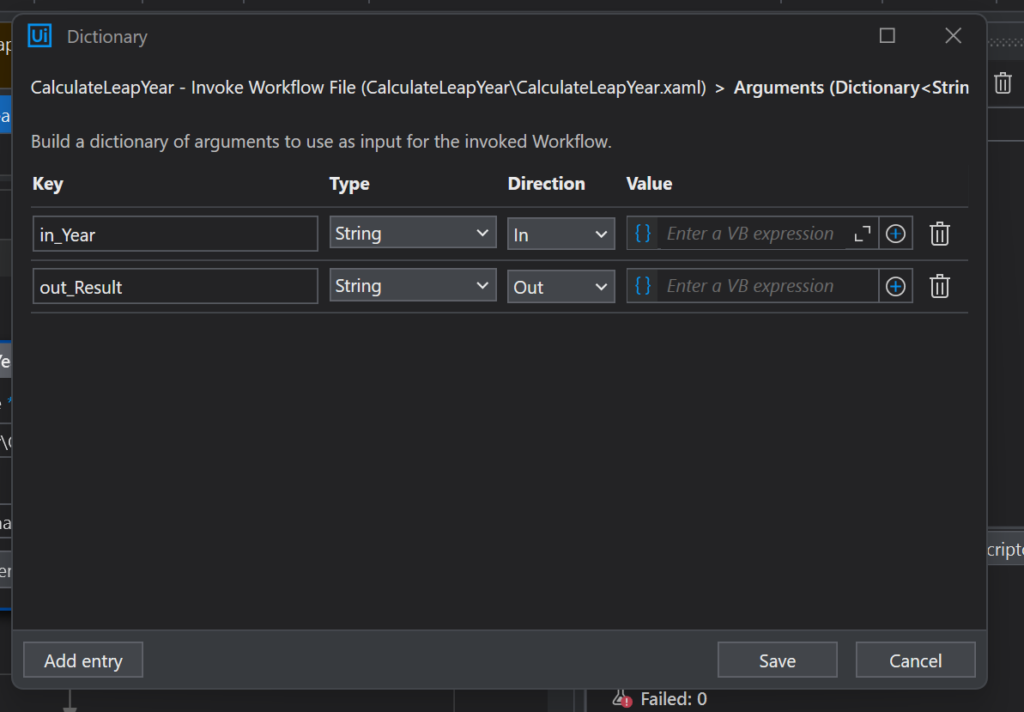
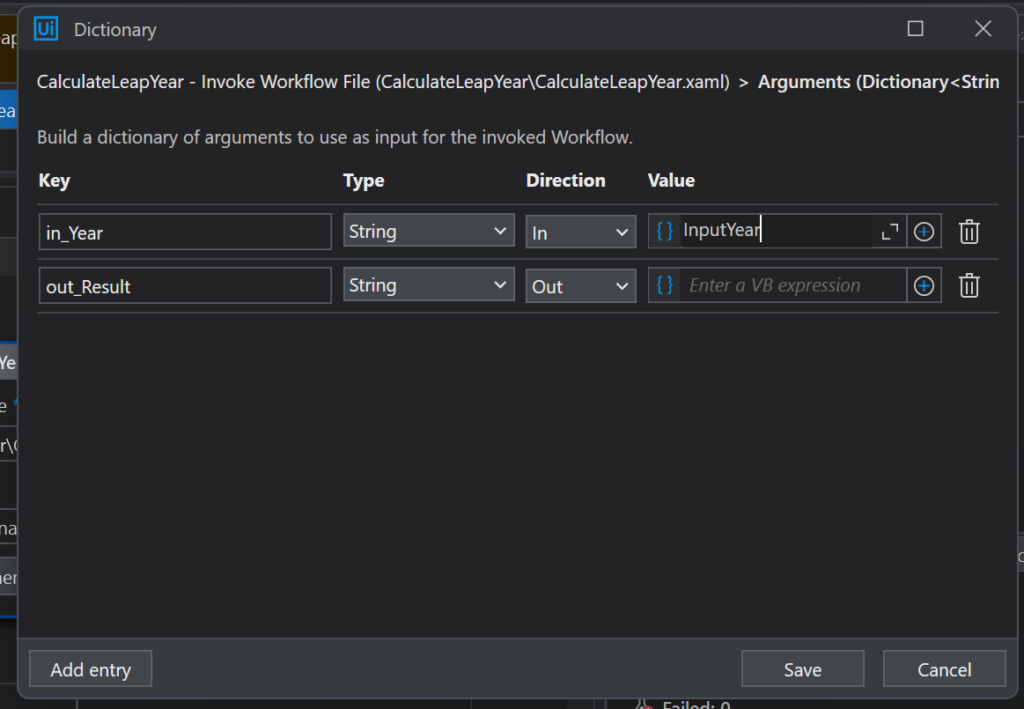
If we had already created the arguments for the xaml file before we created the Test Case, the arguments would be listed here in the “Key” column already. If not, just put them in now. Also, note that if any of the columns in the data file are spelled exactly the same, Studio would put them in the “Value” field automatically. I personally don’t like to do that, because I like to know exactly where every variable comes from. When everything has the same name, it can sometimes get a bit confusing. So let’s put in the link to the incoming InputYear (from the data file) into the value field like so:
Finally, let’s create somewhere for the result of the invoke code to go. Let’s create a new variable (Ctrl-K) and let’s call it ActualOutput, and click Save to close.
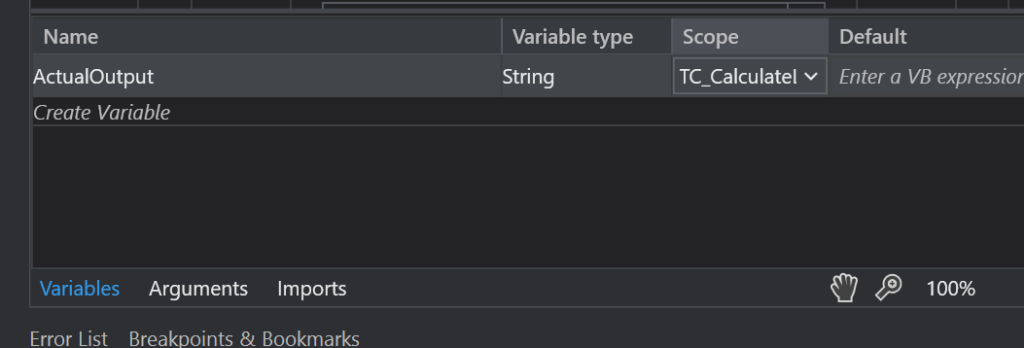
And let’s make sure the scope of our new variable is set to the whole Test Case. Open the Variables panel and change it.
Step #5: Add our Verification in the Test Case
The Test Case is almost set up. We just need give it something to verify. In Activities Panel, under Test, you will see an activity called Verify Expression. Drag that into the Then section of the Test Case. The expression we are verifying is ActualOutput = ExpectedOutput. As you remember, the ActualOutput comes from the Invoke workflow, the ExpectedOutput comes from our data file.

We’ve got enough to run our first test! Keep in mind that we haven’t written a single line of code yet in our workflow. All we did was set up arguments in and out of the workflow. In the next post, we’ll learn how to run our tests, watch them fail, then finally start coding!
Next: TDD Walkthrough Part 3